|
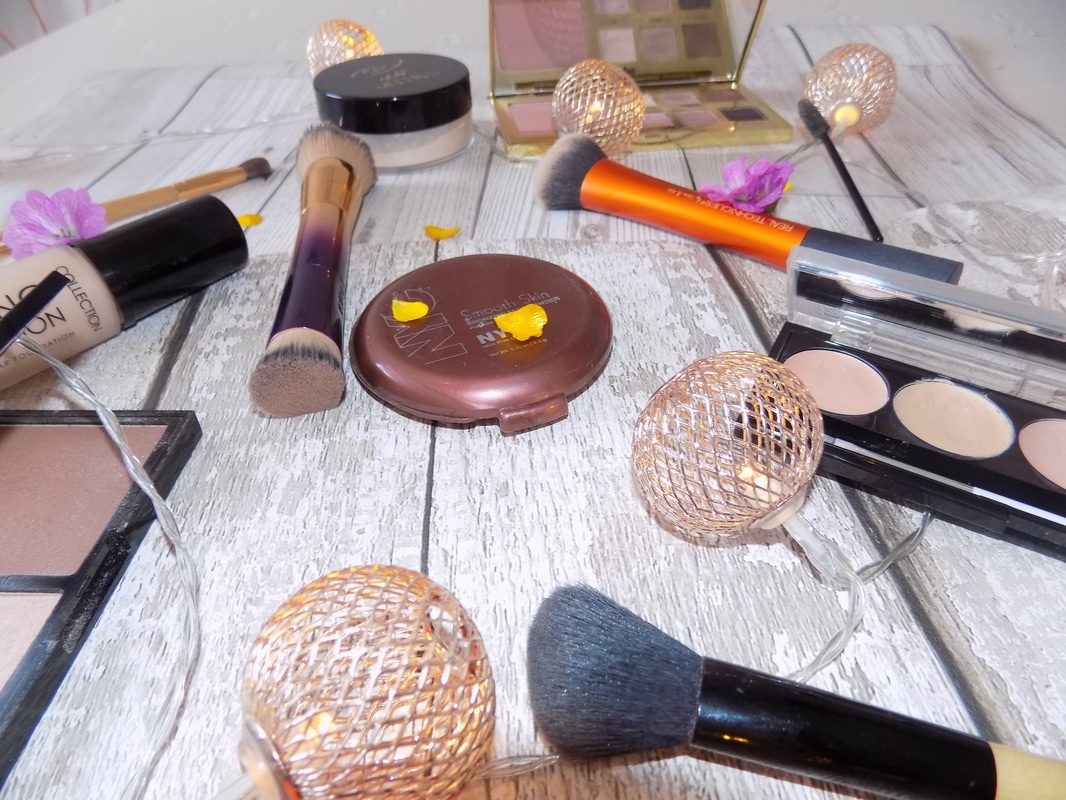
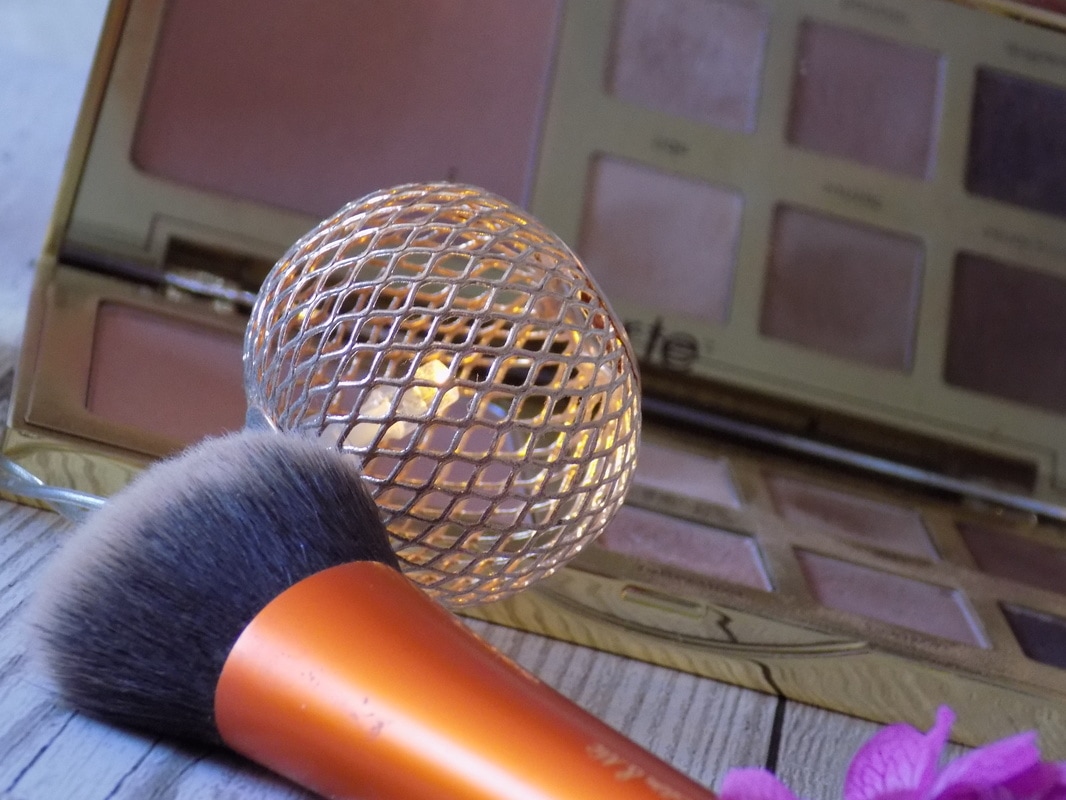
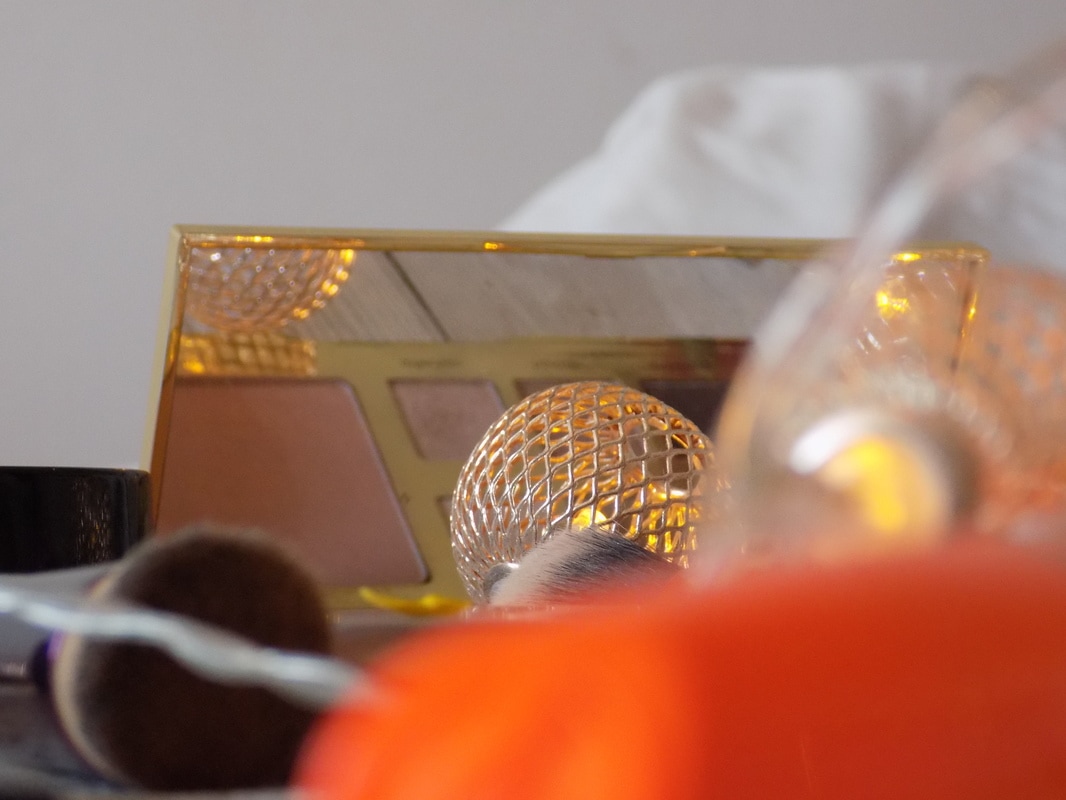
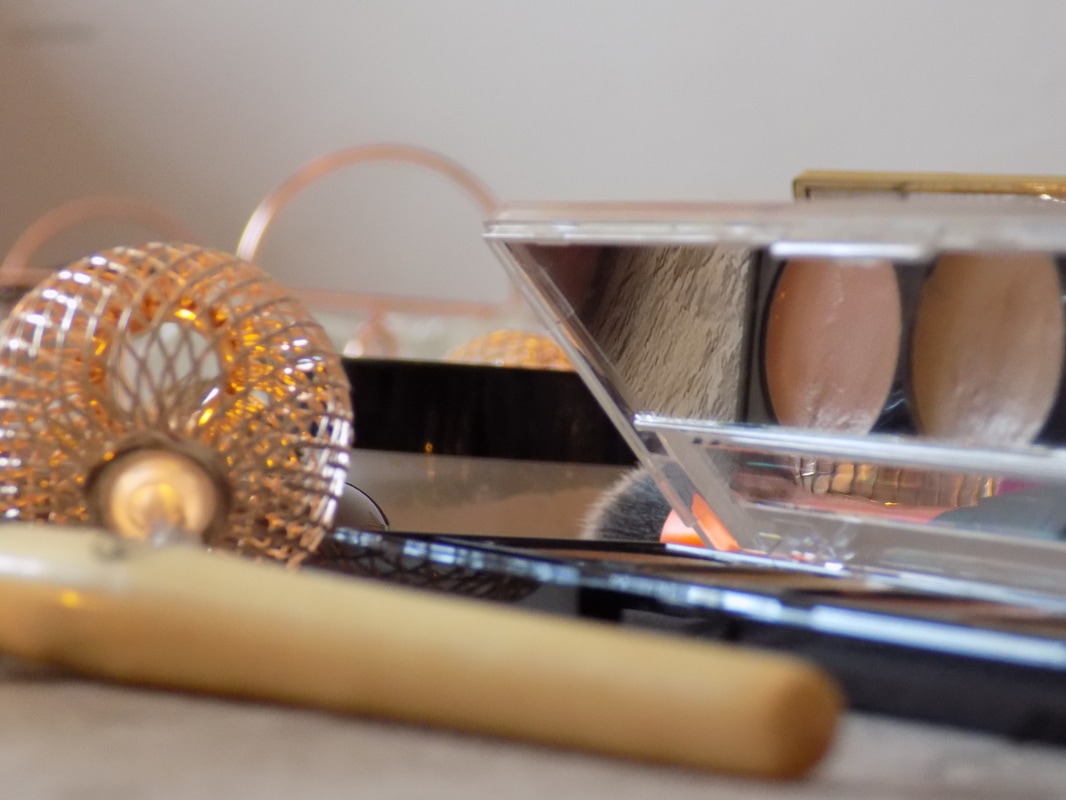
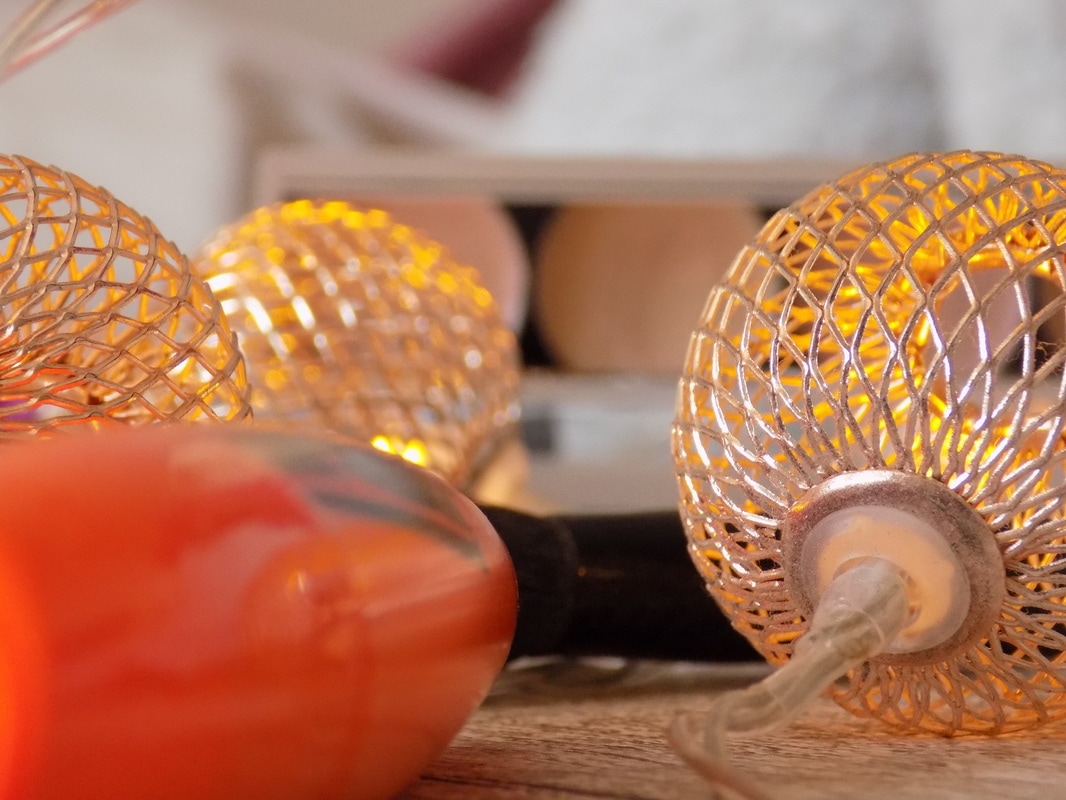
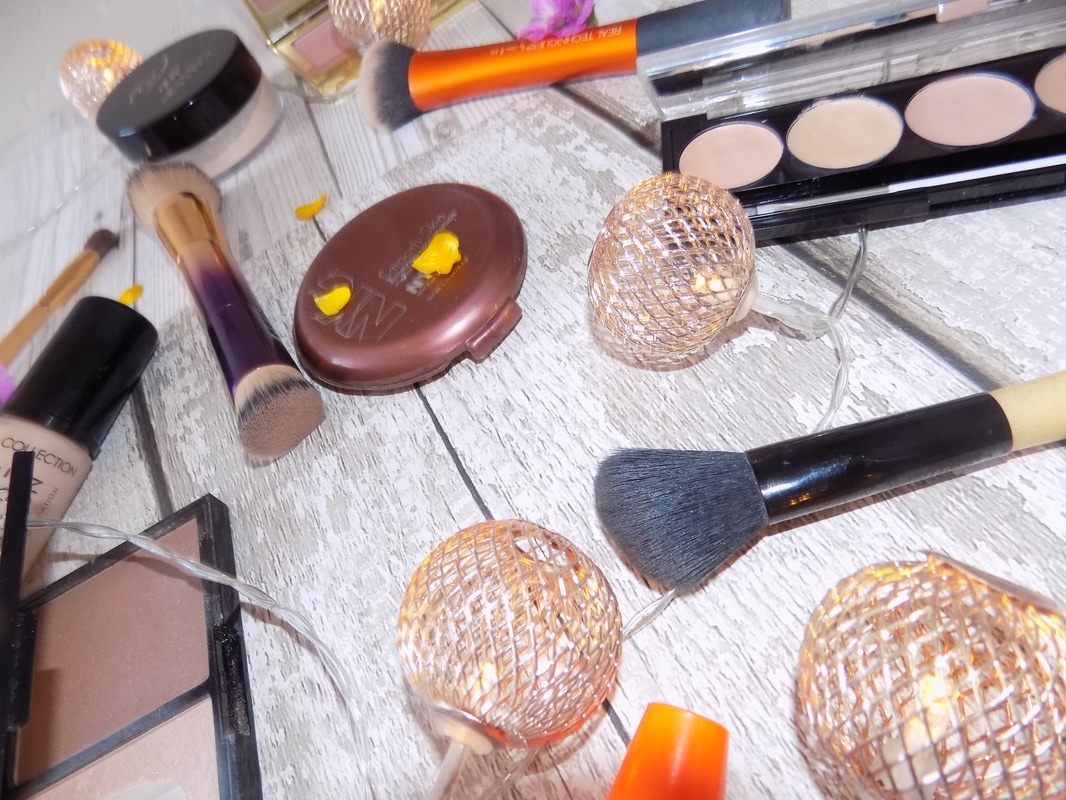
7/6/2017 5 Comments How to create a flat lay Hey guys! Over the past few weeks I started to create my own flatlays thinking it can’t be that hard. And tbqh it isn’t hard, but it is one of those ‘practice makes perfect’ tasks. I know myself mine aren’t perfect at all but Im happy with them, and everytime I see them. I can say ‘I did that’ and I’m proud. Whenever you see your favourite blogger or instagramer, their flaylays are amazing. Ya know, with the marble background, the copper, or the plants poking in on the side and it looks so easy but at the same time hard too. Obviously I don’t have the money to buy marble or any copper items. Damn, I don’t even have enough to buy fake bloody flowers. So this is how I managed to create nice flatlays for nothing. I hope you enjoy! If you have any more tips feel free to comment below. NicheSo hopefully by now you would have a niche and you know what you are going to be advertising. Make sure you pick something related to your blog or instagram feed. So if you talk about beauty, choose beauty. Or if its food, choose food. backgroundNow that you have chosen your items to take images of, now its time to choose your background. Whether this is marble or copper or whatever really. Its up to you. This is the fun bit and it doesn’t cost a penny. What you need to do it, go to your local hardware stores, such as B&Q, Homebase and any other shops that sell wallpaper. Grab your favourite wallpapers and tear off a sample, making sure its bigger enough to cover a lot, because I made that mistake. Also make sure its not a overly complicated wallpaper pattern, otherwise you won’t be able to see the items on top. itemsSo its time to add the items on top of the wallpaper. I have the wallpaper on a flat surface then I simply throw my items on the wallpaper. Obviously not a huge throw, just drop it slightly from a height. Unless its breakable…But if it doesn’t look good, just arrange it a little bit to your liking. If it is makeup palettes, maybe open them slightly so viewers can see the inside. That way they’ll be interested in the item. decorationThis is my favourite part of the whole process. For my flatlay I took a few pretty purple flowers from my back garden and some petals and I scattered them around the flatlay making it all pretty. I then after taking some images that didn’t look right, as it looked like it was missing something. So I found some copper cage ball fairy lights and placed them around the items and switched them on. take the pictureOkay, so once your creation is complete, this part is taking the photo. For this you can either use your phone or a camera. For mine, I use my camera (Nikon DSLR) because I want them to be good quality, but also because my phone camera has sand in it and its very blurry when taking photos. Try and get a lot of different angle images, try different heights, maybe use a tripod. However I prefer free hand. editI try and edit them a little so its a bit brighter and sharper. However I don’t go to crazy otherwise it will look too edited. Thats an easy mistake to make because you want it to look perfect, but sometimes you go too far where it starts to look crap… postTime to post on your social medias. Such as Instagram, Facebook, Twitter and Pinterest. Don’t forget all of them! Also link your blog in them and use hashtags relevant to the image and your blog. Here are some images that I took:
5 Comments
This is a great starting point for what to consider when you're figuring this out! What I always struggle with is 1. Lighting/shadows/glares and 2. Getting that perfectly seen-from-above angle so that you forget someone's probably standing on a chair to take the photo. I think I need to get a Lightbox! 10/6/2017 23:51:57
Very nice! The wallpaper idea is a great hack! 11/6/2017 23:29:36
awesome tips! I am playing a lot with textures for flat lays lately especially surrounding home decor related ones! Leave a Reply. |